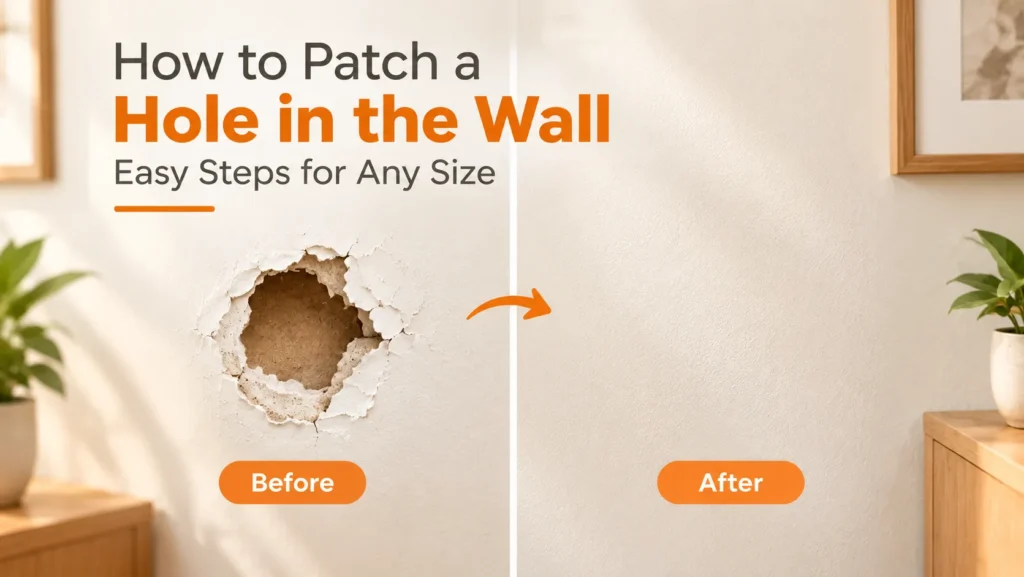
A hole in the wall looks worse than it is. Most repairs need one filler, one putty knife, and less than an hour of hands-on work. Drying time takes the rest.
The right method depends on one thing: the size of the hole. A nail hole needs a dab of spackle. A doorknob hole needs a drywall patch. A hole bigger than your hand needs a new piece of drywall screwed to a backer.
This guide by Homes Remedy shows you how to patch a hole in the wall at any size, plus the plaster, sanding, priming, and finishing steps that make a repair disappear. Follow the section that matches your hole and skip the rest.
Which Repair Method Do You Need?
Match your hole to the row below, then jump to that section.
| Hole size | What caused it | Best fix | Total time |
|---|---|---|---|
| Under 1/2 inch | Nails, pins, small screws | Lightweight spackle and a putty knife | About 1 hour |
| 1/2 to 1 inch | Wall anchors, small impacts | Setting-type compound in two thin coats | Half a day |
| 1 to 6 inches | Doorknobs, fists, removed outlets | Self-adhesive mesh patch or a California patch | 1 to 2 days |
| Over 6 inches | Furniture, moving accidents, water damage | Drywall patch screwed to furring strips | 2 to 3 days |
| Cracks and crumbling edges | Old plaster walls, settling | Setting-type compound and mesh tape | 1 to 2 days |
Measure the hole before you buy anything. Filling a 3-inch hole with spackle alone wastes an afternoon, because the filler sags, cracks, and falls through.
What You Need to Patch a Wall Hole
Tools
- Putty knife (1.5 inch) for small holes
- Drywall knife or taping knife (6 inch and 10 inch) for larger repairs
- Sandpaper in 150 and 220 grit, or a fine sanding sponge
- Utility knife
- Drywall saw and a stud finder, for holes over 6 inches
- Drill or screwdriver
- Dust mask, safety glasses, and a drop cloth
Fillers and materials
Pick the filler that matches the job. They are not interchangeable.
| Product | Use it for | Why it works |
|---|---|---|
| Lightweight spackle | Nail holes, screw holes, dents under 1/2 inch | Dries in 30 minutes, sands easily, barely shrinks |
| All-purpose joint compound (drywall mud) | Coating patches and seams | Spreads thin and feathers smoothly over wide areas |
| Setting-type compound (marked 20, 45, or 90) | Deep fills, first coats, plaster repairs | Hardens by chemical reaction, resists shrinking and cracking |
| Patching plaster | Real lath-and-plaster walls | Bonds to old plaster and builds thickness in layers |
You will also need a drywall patch or mesh patch for medium holes, drywall scraps and furring strips for large holes, drywall screws, paper or fiberglass mesh tape, primer, and paint that matches your wall.
Is your wall drywall or plaster?
Push a pin into an out-of-sight spot. If it sinks in easily, you have drywall. If it refuses to go in and the surface feels rock hard, you likely have plaster over wood lath, common in homes built before the 1950s. Knock on the wall too. Drywall sounds hollow between studs, while plaster sounds solid and dull.
The difference changes your filler and your patch thickness, so check first.
How to Patch a Small Hole
This covers nail holes, pin holes, screw holes, and dents under half an inch. Most people finish ten of these in under 20 minutes.
Step 1: Remove the hardware. Pull nails out with your fingers or the claw of a hammer. Unscrew screws. For a plastic wall anchor, back it out with a screwdriver. If it spins in place, score around the rim with a utility knife and tap it below the surface with a hammer. Never yank an anchor straight out, because it tears a crater in the paper face.
Step 2: Clean the edge. Run your putty knife flat across the hole to knock off raised paper or loose paint. A smooth rim gives the spackle something to grip.
Step 3: Press in the spackle. Load a small amount on the corner of the putty knife. Press it firmly into the hole, not just across it. Air pockets shrink and sink as they dry.
Step 4: Scrape it flush. Hold the knife at a low angle and pull it across the patch in one pass. Remove the excess from the wall surface. Beginners smear far too much spackle over a wide area, which triples the sanding later.
Step 5: Let it dry. Lightweight spackle sets in about 30 minutes. Deeper holes need longer. Color-change spackle turns from pink or blue to white when it has cured.
Step 6: Sand and check. Sand lightly with 220-grit paper or a fine sponge until the patch feels level under your palm. If the center dipped, add a second thin coat and repeat.
For holes between half an inch and one inch, switch to setting-type compound and apply two thin coats. It shrinks far less than lightweight spackle, so the center will not sink. Anything wider than an inch needs a patch behind it.
How to Patch a Medium Hole
Medium holes run from about one to six inches, the classic doorknob-through-the-wall size. You have two good options.
Option 1: Self-adhesive mesh patch
This is the fastest route and works well up to about four inches.
- Cut away loose paper and crumbled gypsum with a utility knife until you have a clean edge.
- Peel the backing off the mesh patch. Center it so the metal or mesh overlaps solid wall by at least one inch on every side.
- Press it flat, starting at the middle and working outward.
- Spread a thin coat of joint compound over the patch in a crisscross pattern. Push compound into the mesh rather than piling it on top.
- Feather the edges. Increase the angle and pressure of your knife as you reach the outside, so the compound thins out to nothing against the wall.
- Let it dry 12 to 24 hours, then sand lightly.
- Apply a second coat about two inches wider than the first. Add a third coat wider still if the patch outline still shows.
Three thin coats always beat one thick coat. Each coat should look almost transparent at the edges.
Option 2: California patch
A California patch uses a real piece of drywall, so it resists dents better than mesh. Use it for holes up to six inches.
- Use a stud finder and check for wiring before you cut. Wires usually run along studs, and outlets or switches nearby mean cables are close.
- Cut a drywall scrap two inches wider and taller than the hole at its widest points.
- Score the back of the scrap one inch in from each edge, all the way around.
- Snap off the gypsum outside those score lines, but leave the front paper attached. You now have a small drywall plug with a paper flange.
- Hold the plug over the hole and trace around the gypsum center. Cut that shape out of the wall with a drywall saw.
- Butter the back of the paper flange with joint compound. Push the plug into the hole and press the flange flat against the wall.
- Skim compound over the whole patch, feather the edges, and let it dry.
- Sand, then add one or two more coats until the seam disappears.
How to Repair a Large Hole
Holes larger than six inches need real backing. A patch with nothing behind it will crack the first time someone leans on the wall.
Step 1: Check what is behind the wall. Locate the studs. Look for outlets, switches, and plumbing above or below kitchens and bathrooms. Switch off the circuit at the breaker before you cut. If you cannot rule out pipes or cables, cut the opening by hand and go slowly.
Step 2: Square up the hole. Draw a rectangle around the damage with a pencil and a level. Cut along the lines with a drywall saw. Square edges are far easier to patch than ragged ones.
Step 3: Install furring strips. Cut two pieces of 1×3 lumber a few inches longer than the height of the opening. Slide each one inside the wall, hold it tight against the back of the drywall, and drive drywall screws through the wall face into the strip. Place one strip on the left side of the opening and one on the right. Sink every screw head just below the surface.
If your opening reaches a stud, screw into the stud instead and skip the strip on that side.
Step 4: Cut and fit the patch. Measure the opening and cut a drywall piece to match, leaving a gap no wider than 1/8 inch. Use drywall the same thickness as your wall, usually 1/2 inch.
Step 5: Screw the patch in. Drive screws through the patch into the furring strips every six inches. Keep screw heads dimpled below the surface without breaking the paper.
Step 6: Tape the seams. Spread a thin layer of joint compound along each seam. Press paper tape into it, centered on the joint, and squeeze out the excess with your knife. Paper tape holds flat seams better than mesh. Cover the tape with a skim coat.
Step 7: Build up three coats. Let each coat dry fully, sand lightly, then apply the next one wider than the last. Aim for a final blend zone of 10 to 12 inches across. Wide and thin hides a patch. Narrow and thick advertises it.
How to Fix Holes in Plaster Walls
Plaster behaves differently from drywall. It crumbles at the edges and it sits thicker, often 3/4 inch or more.
For cracks and small holes: Scrape out every loose, chalky piece until you reach sound plaster. Brush away dust. Dampen the edges with a wet sponge, or brush on a bonding agent if the old plaster looks powdery. Fill with setting-type compound or patching plaster in layers no thicker than 1/4 inch, letting each layer firm up first. Cover long cracks with fiberglass mesh tape before your final coat.
For larger holes: Check the wood lath behind the plaster. If the lath is intact, build up patching plaster in layers and let it squeeze between the lath strips to lock in place. If the lath is broken, cut back to the framing and fit a drywall patch instead. Plaster walls are thicker than 1/2 inch drywall, so shim the patch forward or skim the surface with compound until it sits flush.
Safety note: Homes built before 1978 may have lead paint, and some older plaster and textured coatings contain asbestos. Do not dry-sand these surfaces. Test first, or hire a certified contractor.
How to Sand and Smooth the Patch
Sanding decides whether your repair disappears or stands out under the light.
- Wait until the compound is bone dry. Damp compound gums up the paper and tears.
- Start with 150-grit sandpaper to knock down ridges. Switch to 220-grit for the final pass.
- Sand in circles with light pressure. Pressing hard digs a hollow in the middle of the patch.
- Feather outward past the edges of the compound so no ridge remains.
- Stop as soon as the patch is level. Sanding through to the drywall paper leaves a fuzzy surface that needs another skim coat.
To cut the dust, use a damp sponge instead of paper. Wipe in small circles, rinse it often, and let the wall dry between passes.
Check your work two ways. Run your bare hand over the area with your eyes closed, since your fingers catch flaws your eyes miss. Then shine a flashlight across the wall at a sharp angle. Every bump and dip throws a shadow.
Wipe the dust off with a dry cloth before you move on. Dust ruins primer adhesion.
How to Prime and Paint the Repaired Area
Skipping primer is the fastest way to ruin a good patch.
Dried joint compound is far more porous than painted drywall. It soaks up paint, dries dull, and leaves a visible shadow of your repair. Painters call this flashing. Primer seals the surface so the paint sits evenly.
Step 1: Match the texture, if your wall has one. Do this before you prime. Thin joint compound with water to the consistency of pancake batter. Load a stiff brush, hold it bristles-up near the wall, and flick droplets onto the patch with a gloved finger. Practice on cardboard first. Canned texture spray is an easier alternative. Flatten the peaks gently with a wide knife for a knockdown look, then let the texture dry.
Step 2: Prime the patch. Brush or roll a coat of drywall primer over the repair and slightly past its edges. Let it dry fully, usually one to two hours.
Step 3: Match your paint. Use leftover paint from the original job if you have it. If not, take a chip of the wall to a paint store for a color match. Match the sheen too, since eggshell paint over a satin wall shows up even in the right color.
Step 4: Paint. For small patches, dab paint on with a folded paper towel or a small roller and feather it outward. For large patches, roll the entire wall corner to corner. A full wall always blends better than a touch-up circle.
Apply two thin coats rather than one heavy coat, and let the first dry completely.
Common Wall Patching Mistakes
- Piling on one thick coat. Thick compound shrinks, cracks, and sinks. Three thin coats dry flat.
- Sanding too early. Damp compound smears and pulls out of the hole.
- Feathering too narrow. A patch with a hard edge casts a shadow forever. Widen each coat.
- Yanking out wall anchors. Tap them below the surface instead and fill over them.
- Skipping primer. The patch will flash through your topcoat.
- Cutting blind into a wall. Always check for wires and pipes before a saw goes in.
- Using mesh tape on a large patch seam. Mesh has more give than paper tape, so hairline cracks show through later. Use paper tape on patch seams and save mesh tape for small cracks.
- Patching a hole without backing. Anything over six inches needs furring strips or a stud behind it.
- Painting a small circle over the repair. Feather the paint out, or roll the whole wall.
- Ignoring the cause. Nail pops mean loose fasteners. Drive a screw 1.5 inches above the pop into the stud, then fill both spots.
FAQs About Patching Wall Holes
How long does spackle take to dry before painting? Lightweight spackle in a nail hole dries in about 30 minutes. Joint compound over a patch needs 12 to 24 hours per coat. Wait for the full drying time, then sand, prime, and paint.
Can I use spackle instead of joint compound? Use spackle for holes under half an inch. Use joint compound to coat and feather patches, because it spreads thinner over a wider area. Spackle shrinks and cracks when you apply it thick.
What is the biggest hole I can fill without a patch? About one inch, and only with setting-type compound applied in two layers. Lightweight spackle alone tops out near half an inch. Past one inch the filler has nothing to grip and it sags or drops through, so use a mesh patch up to six inches and a drywall patch on furring strips beyond that.
Do I have to sand a wall patch? For a tiny nail hole scraped flush, you can often skip it. For anything larger, sanding is what makes the repair invisible. If you want to avoid dust, use a damp sponge.
How do I patch a hole in a rental wall? The same way, but check your lease first. Fill nail and anchor holes with lightweight spackle, sand with 220-grit, and dab on matched paint with a paper towel. Most landlords accept a clean, level, color-matched repair.
Why does my patch still show after painting? Three likely causes: you skipped primer, you feathered the edges too narrowly, or your paint sheen does not match. Prime the area, widen the blend with another thin coat of compound, and check the finish on your paint can.
Can I patch a hole in a plaster wall with joint compound? Use setting-type compound or patching plaster for the fill, because both bond better to old plaster and shrink less. Regular joint compound works fine as a final skim coat on top.
What do I do about a hole around an electrical outlet? Switch off the circuit at the breaker before you touch anything. Small gaps behind the cover plate need no repair. For larger damage, cut back to clean edges and fit a patch with the power still off.
How many coats of compound does a patch need? Two for a small mesh patch, three for a large drywall patch. Each coat should spread wider than the one before it.
Does toothpaste work for filling nail holes? It hides a hole temporarily, but it shrinks, cracks, and resists paint. A small tub of spackle costs a few dollars and lasts for years.
Final Word
Match the method to the size, work in thin coats, and let each coat dry fully. That is the whole job. Small holes take one afternoon. Large holes take a weekend, mostly spent waiting. A good wall repair is simply one you cannot find again once the paint dries.